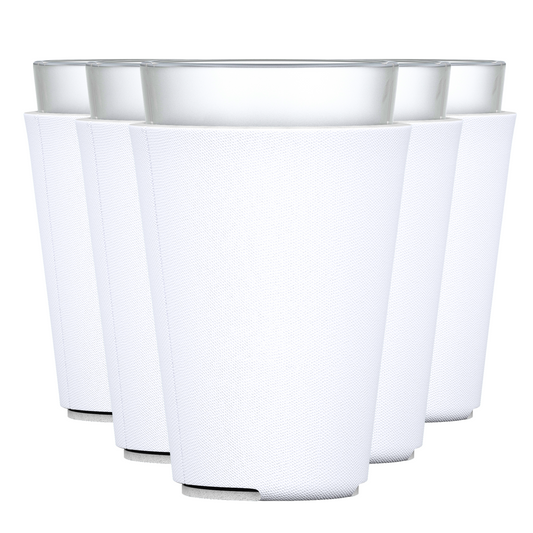
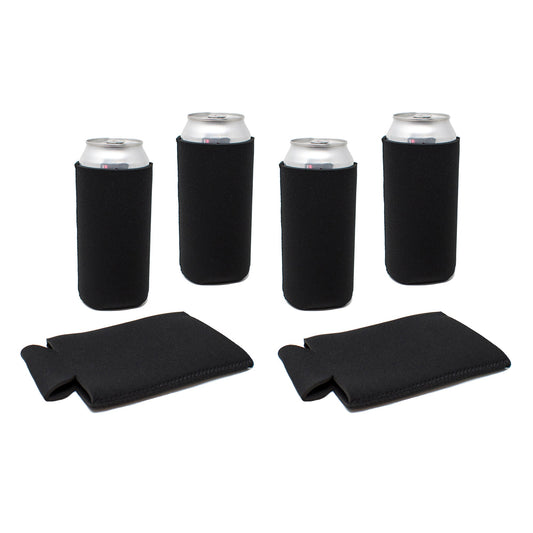
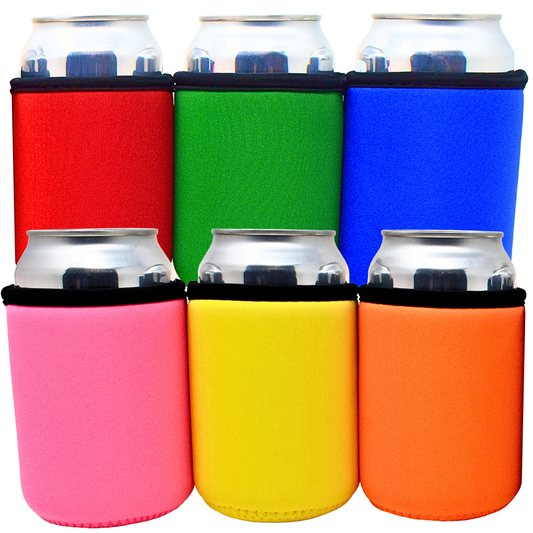
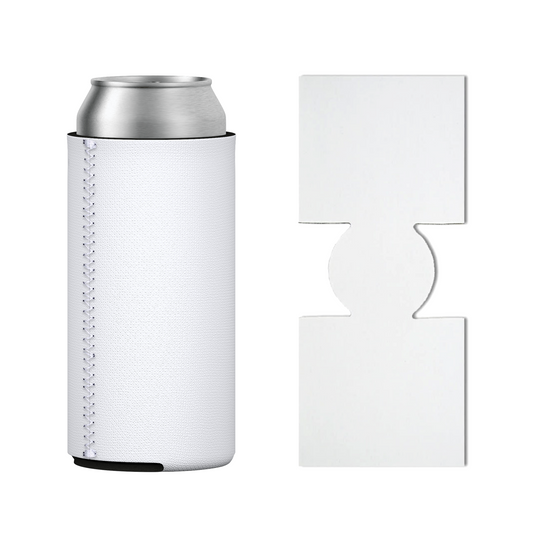
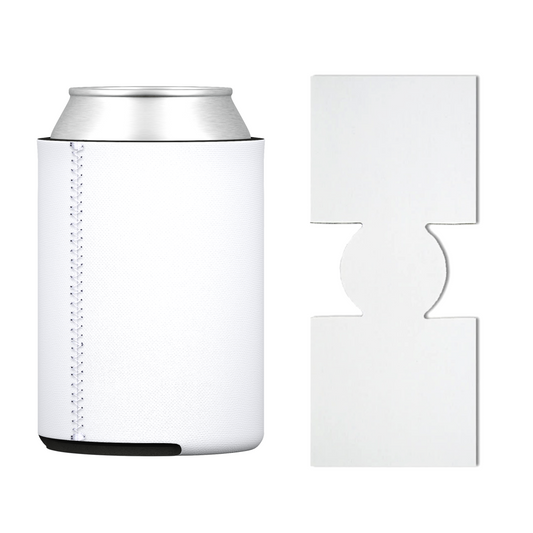
TahoeBay Blank Can Coolers
Our vibrant colors and premium materials make transferring your designs easier and more impressive. Your friends will love the difference! Enjoy free shipping and automatic bulk discounts. You can trust TahoeBay, we are a US Veteran-owned small business.
Bulk discounts up to 40% off
Shipping is free


Bulk discounts automatically applied to your shopping cart
- 22% off any 2 or more packs
- 36% off any 5 or more packs
- 40% off any 10 or more packs

TahoeBay ships in gift boxes, not plastic wrap
Gift boxes better protect can coolers in transit.
Tools & Frequently Asked Questions
Tips for customizing TahoeBay Can Coolers with HTV, Direct to Film (DTF), and sublimation. See demonstration videos below.
Please note: These are generalized tips. Dialing in your settings for consistent results may take some trial and error. For the easiest transfers, we recommend our foam can coolers for HTV and our neoprene can coolers for sublimation.
HTV & DTF Transfer
- Pre-heat your press to the temperature listed below.
- Use a lint roller to remove lint from the can sleeve.
- Place butcher paper or a Teflon sheet inside the sleeve to prevent it from sticking to itself.
- Add butcher paper on the top and bottom of the can cooler as a barrier while pressing.
- Pre-heat the sleeve in the press for 10 seconds at the recommended temperature.
- Center your vinyl graphic on the can cooler, then press again using the butcher paper and settings below.
Recommended Settings (may vary by vinyl and DTF brand)
- Cricut EasyPress: 15–20 seconds at 330°F, light pressure
- Commercial press: 15–20 seconds at 280-330°F, light pressure (adjust press gap for sleeve thickness)
- Household iron: 15–20 seconds on medium heat, light pressure
Troubleshooting Tips
- Confirm your vinyl is designed to adhere to polyester.
- Use your vinyl brand’s time, temperature, and pressure guidance.
- Try a cold peel (let the vinyl cool before peeling).
- Pre-heat both the iron and can cooler. (Important with neoprene)
- Press evenly and straight down (especially if not using a commercial press).
- Peel the carrier sheet in one smooth motion.
- “Set” the vinyl with a short second press (~5 seconds).
Sublimation
Note 1: While sublimation can be used on our foam can coolers, many prefer neoprene for better durability at higher temps.
Note 2: Sublimation works best on light-colored coolers—designs won’t show well on dark backgrounds. For dark sleeves, we recommend HTV or DTF.
Follow HTV steps 1–6 above, plus these adjustments:
- Secure the sublimation paper with thermal tape.
- Extend artwork slightly beyond the can cooler’s width and height for full edge coverage.
- Let the can cooler cool before pressing the second side.
Recommended Settings
- Commercial press: 40–60 seconds at 350°F, light pressure (adjust press gap for sleeve thickness)
Demo Videos Using TahoeBay Can Coolers
Visit our Customer Demos Playlist on YouTube for step-by-step videos.
The answer depends on a few factors. Here is a table showing their differences to help you decide what's best for your next project.
The differences:
|
Foam (Polyfoam) |
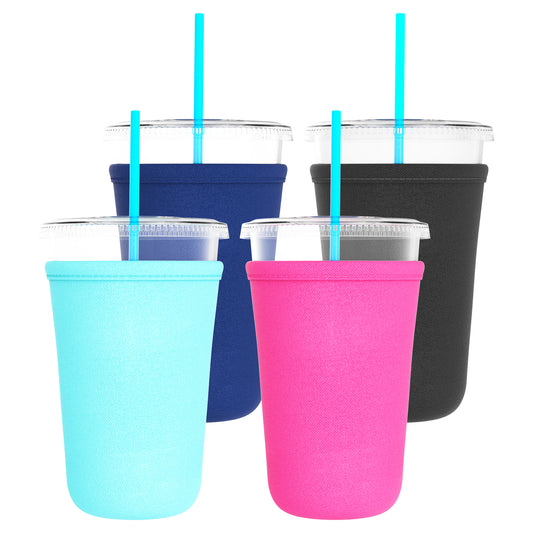
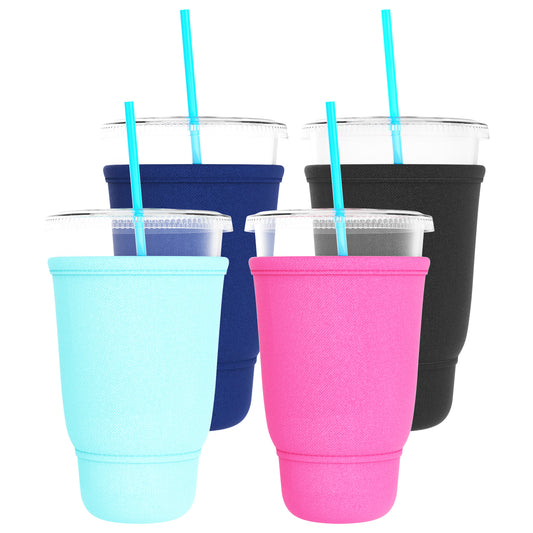
Neoprene |
|
|

What they have in common:
Scuba knit polyester stretch fabric is laminated to the outside of both the foam and neoprene can coolers. This means that both types of coolers will accept Heat Transfer Vinyl (HTV), sublimation, and screen printing. However, when applying higher temperatures, such as those with sublimation, many prefer neoprene due to its greater durability.
TahoeBay polyfoam:
TahoeBay foam can coolers are designed with polyfoam that makes HTV application smooth and hassle-free, giving creators consistent, reliable results. HTV is easier to apply on our foam than on neoprene.
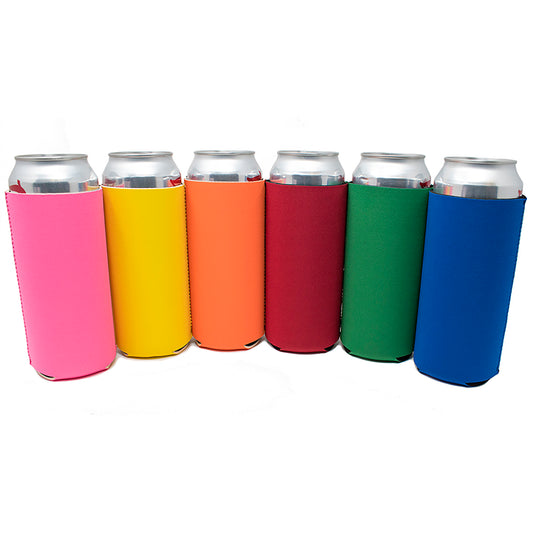
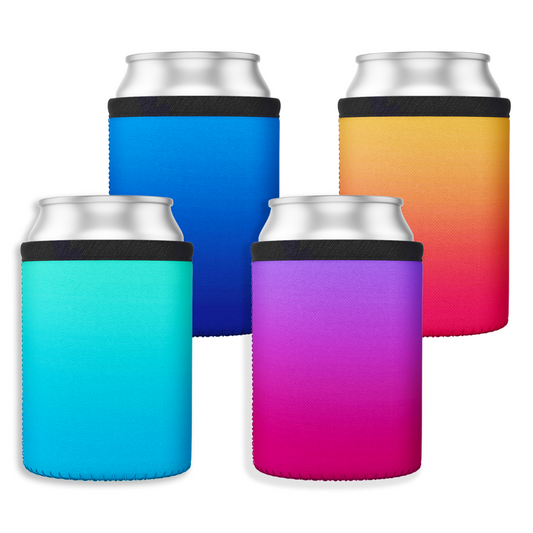
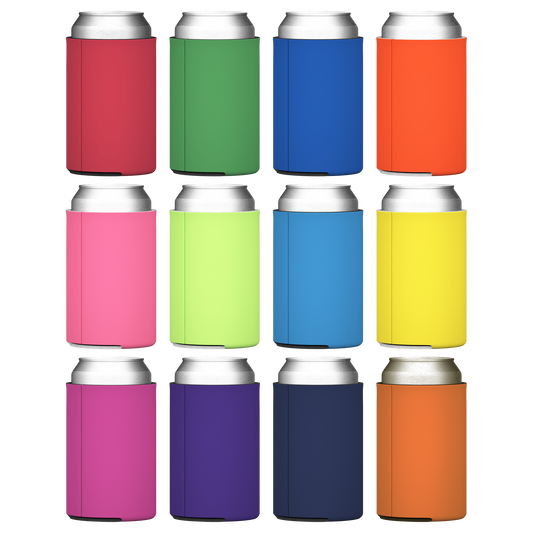
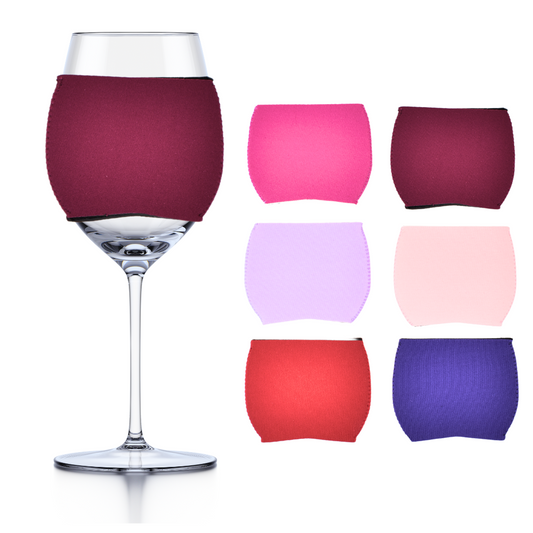
Colors can be difficult to judge on screens, so we created this color chart to help you compare all available options side by side.
Click the image below to enlarge it. Once enlarged, you can drag the chart around and use your mouse wheel to zoom in or out for a closer look.

Click the image to enlarge and compare colors more closely.
Design With Confidence Using Our Can Cooler Templates
Take the guesswork out of sizing your artwork. Our downloadable can cooler templates help you perfectly align and scale your HTV, sublimation, or DTF designs before cutting or pressing.
Compatible with popular cutting machine software, these templates make it easy to outline your print area, position your design correctly, and avoid wasted materials.
Whether you're creating custom can coolers for weddings, bachelorette parties, corporate events, or small business orders, our templates help ensure a professional, consistent result every time.
Download Here


In order to support at-home creatives, we leave the printing to them.
Important: If you absolutely need your order to arrive sooner than 6 business days from the time of your order, we recommend ordering directly from our Amazon Store. Expedited shipping through our website typically delivers within 3-6 business days, but we cannot guarantee it. All of our orders are shipped via Amazon Logistics.
Orders placed on our website are charged the same shipping fee, no matter the size of the order:
| Shipping Speed | Order-to-Delivery Time | Fee |
| Standard* | 5-9 business days | Free |
| Expedited | 3-6 business days | $25 |
Tracking details are provided as your order gets closer to delivery.
Orders are sometimes split into more than one shipment depending on product availability at Amazon warehouses.
*Standard shipping to Alaska, Hawaii, and Puerto Rico will incur a flat fee of $15.

